+1 (630) 296 6606
 +1 (630) 615-1784
 +91 (79) 48904529
 +48 (730) 059 665
 reach@techforceglobal.com
How to Create and Launch Your Own Custom Token Using Coinsmith: A Step-by-Step Guide
In the rapidly evolving world of blockchain technology, the creation and launch of custom tokens have become increasingly popular. These tokens serve various purposes, including crowdfunding, incentivizing user engagement, and facilitating transactions within a specific ecosystem. Coinsmith is a powerful token generation tool that simplifies the process of creating and launching your own custom token. In this step-by-step guide, we will explore how to utilize Coinsmith to bring your token idea to life.
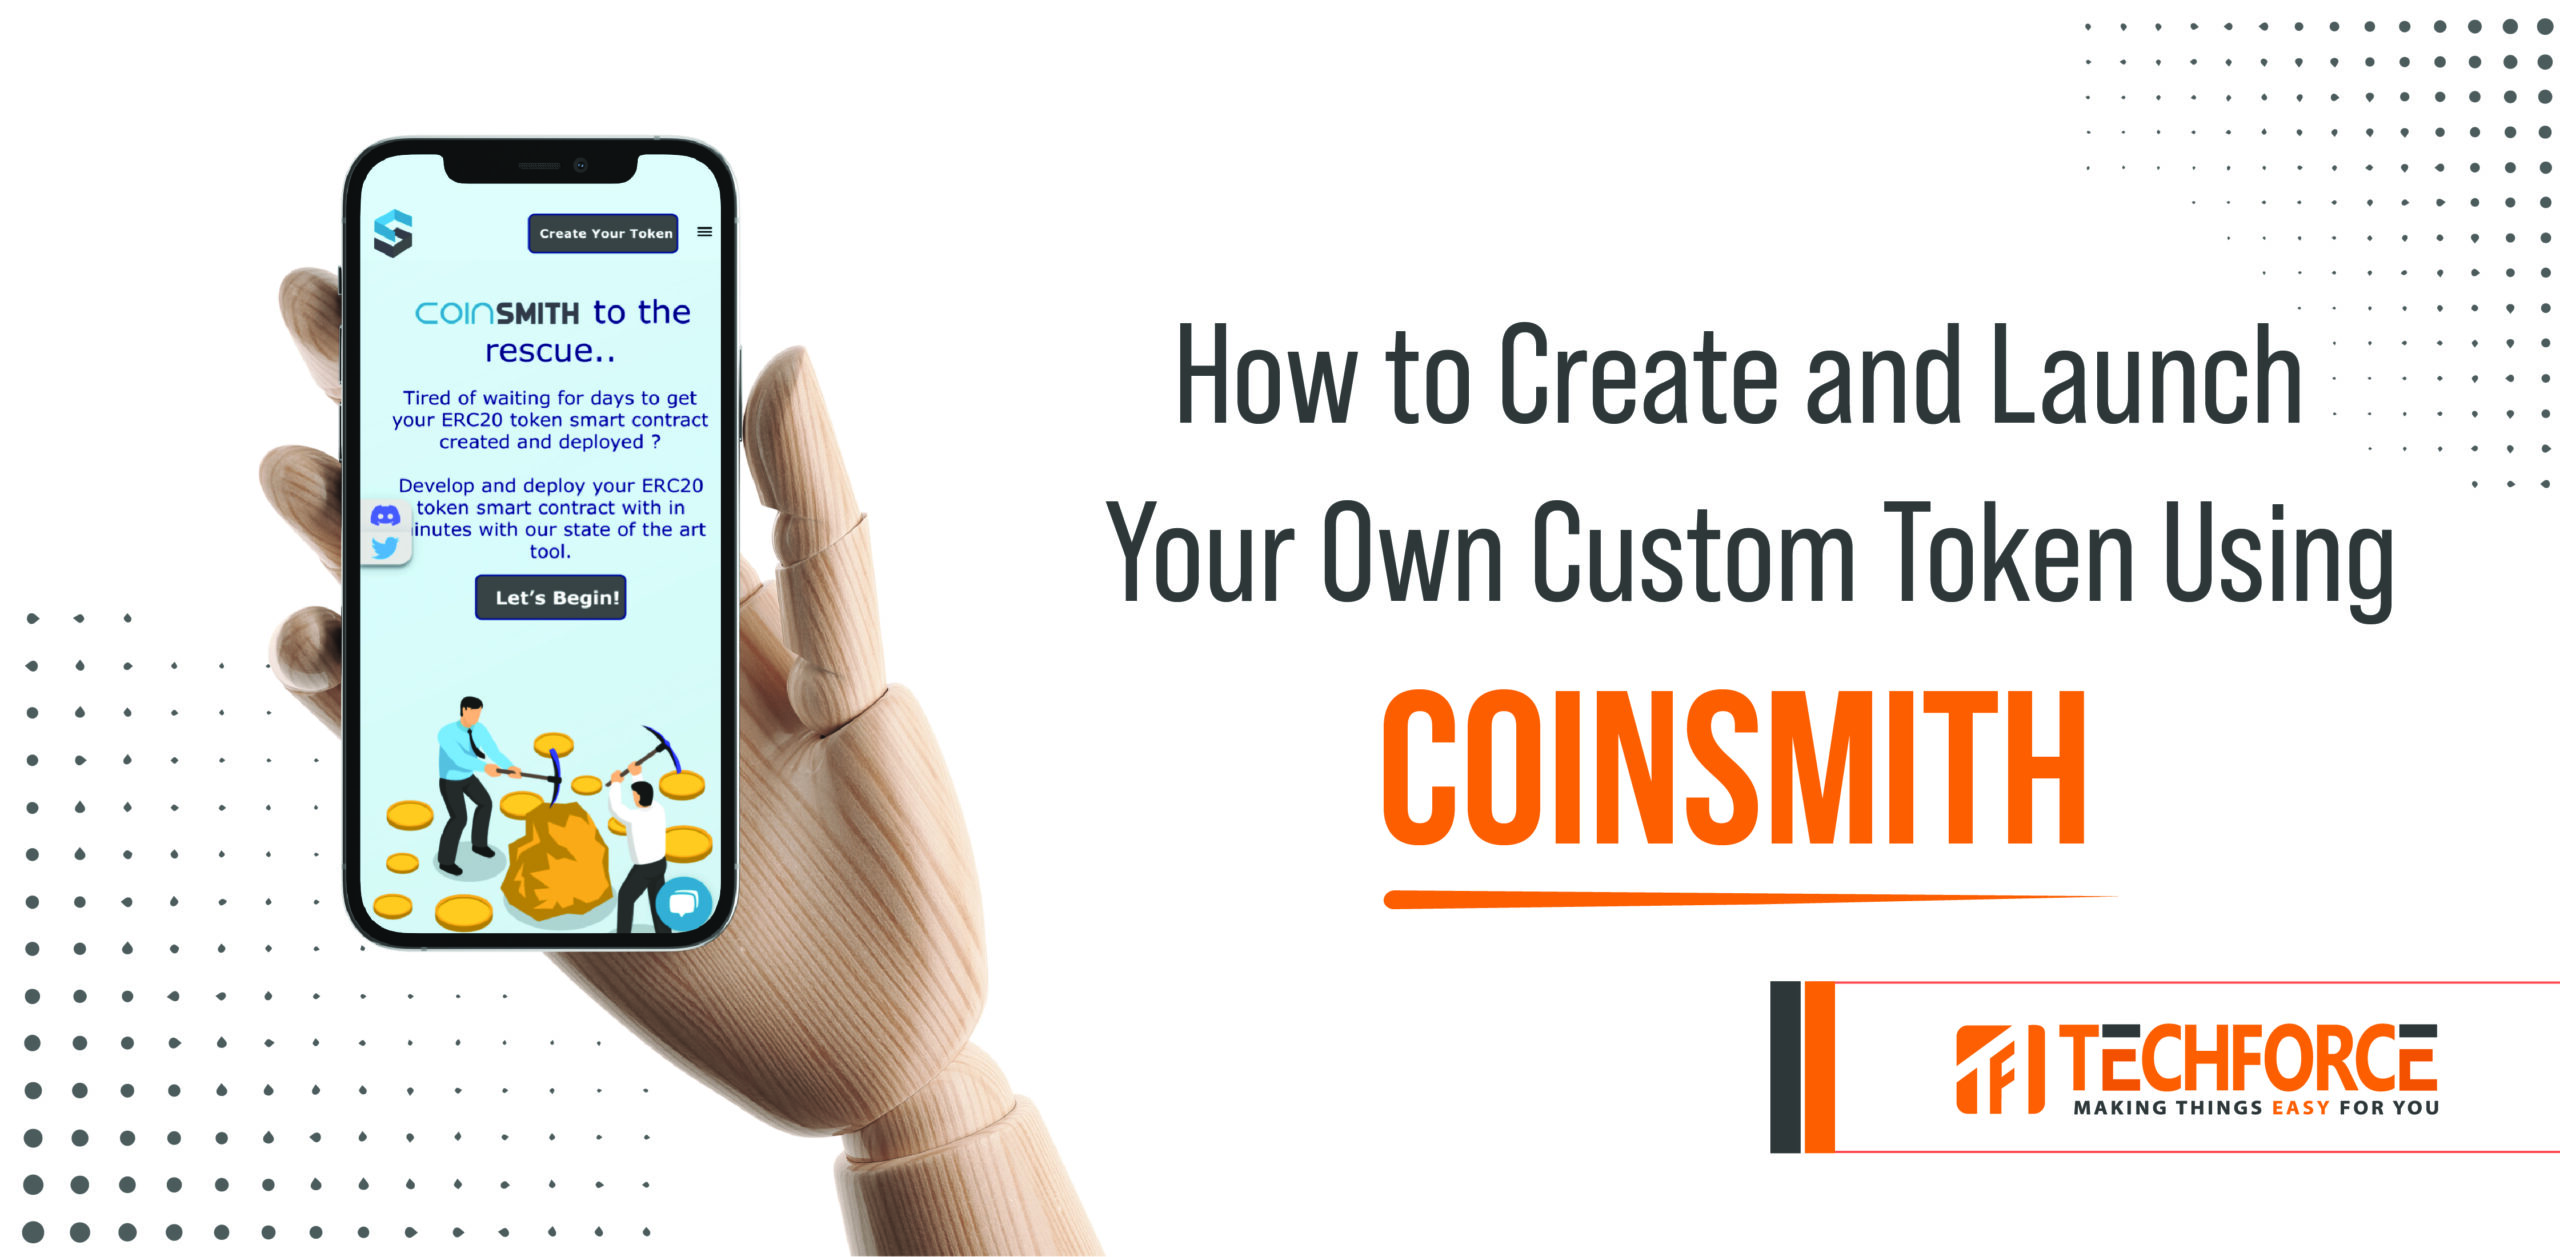
Fast, Easy, and Secure: How to Create Your Tokens in Minutes with Coinsmith.
Are you looking to create your own cryptocurrency but don’t know where to start? Look no further. With Coinsmith, creating an ERC20 token is fast, easy, and secure. You don’t need any technical expertise – just 15 minutes of your time and a few clicks. In this blog post, we’ll guide you through the simple process of creating your token on the different blockchains using Coinsmith’s intuitive platform. Get ready to take control of your financial future!
What is Coinsmith?
Coinsmith is a user-friendly platform that lets you create your own Token in minutes. Our smart contracts handle the technical details, and our interface makes it easy to manage your tokens. All you need is a web browser and a digital wallet.
Introduction to ERC20 Tokens
Tokens represent various assets and can be easily exchanged on different platforms. Creating tokens is fast, easy, and secure with Coinsmith. We’ll handle the technical details of creating the smart contract and issuing the tokens to your wallet in minutes. By creating a token, you join a growing community building the future of decentralized applications on Ethereum.

Step-by-Step Guide to Creating an ERC20 Token with Coinsmith
Step 1: Understanding Coinsmith
Coinsmith is a user-friendly token generation tool developed by Techforce Global. It provides a comprehensive solution for token creation, offering a range of customization options and functionalities. Before diving into the token creation process, it is crucial to familiarize yourself with the features and capabilities of Coinsmith. Visit the Coinsmith website at https://cs.techforceglobal.com/ to explore the tool’s interface and gain a better understanding of its functionalities.
Step 2: Defining Token Specifications
To create your own custom token, you need to define its specifications. Consider the purpose of your token, its name, symbol, total supply, and decimal places. Tokens can be designed for various purposes, such as utility tokens that provide access to specific services or security tokens that represent ownership of an asset. Carefully think through your token’s intended use and functionality to ensure it aligns with your goals.
Step 3: Accessing Coinsmith
Once you have a clear idea of your token specifications, visit the Coinsmith website. Create an account or log in if you already have one. Coinsmith provides a seamless user experience, making it easy for both beginners and experienced users to navigate the platform.
Step 4: Token Configuration
In the Coinsmith dashboard, navigate to the “Token Configuration” section. Here, you can customize various aspects of your token. Enter the desired token name, symbol, total supply, and decimal places according to your earlier specifications. Additionally, you can set up optional features such as token burning, time locks, or token vesting schedules.
Step 5: Smart Contract Development
Coinsmith allows you to create a smart contract for your token without any coding knowledge. In the “Smart Contract Development” section, you can define the behavior and functionality of your token. You can set rules for transfers, establish token ownership, and even create advanced features like token staking or governance mechanisms. Utilize the intuitive interface provided by Coinsmith to configure your token’s smart contract based on your specific requirements.
Step 6: Token Deployment and Testing
Once you have configured your token specifications and developed the smart contract, it’s time to deploy and test your token. Coinsmith simplifies the deployment process, allowing you to preview your token and simulate various scenarios before launching it on the blockchain. Use the testing environment provided by Coinsmith to ensure that your token functions are as intended and to identify any potential issues or bugs.
Step 7: Launching Your Token
After thorough testing, you are ready to launch your custom token. Coinsmith provides seamless integration with various blockchain networks, allowing you to choose the most suitable one for your token. Whether you prefer Ethereum, Binance Smart Chain, or other compatible networks, Coinsmith guides you through the deployment process and ensures your token is successfully launched.
(Blockchains: Ethereum, Binance, Polygon, Avalanche, Optimism, Fantom, Arbitrum, Caduceus)
Step 8: Post-Launch Considerations
Congratulations! You have successfully created and launched your own custom token using Coinsmith. However, the journey doesn’t end here. It is essential to actively promote and manage your token to maximize its adoption and success. Create a marketing strategy, engage with your community, and seek partnerships to enhance the visibility and usability of your token.
Benefits of Using Coinsmith
Coinsmith provides a comprehensive suite of token management tools, including a secure wallet, an integrated exchange, and a powerful management dashboard. Coinsmith is also constantly innovating in order to provide its users with new features and capabilities.
Some of the key benefits of using Coinsmith:
- Ease of use: Creating and managing your token with Coinsmith is extremely simple.
- Security: Coinsmith takes security seriously, with multiple layers of security to protect your token from hacking attempts.
- Flexibility: Coinsmith offers a variety of customization options to meet your specific requirements.
- Support: The Coinsmith team is extremely responsive and is always available to assist you with any issues you may encounter.
Let’s get started!
- Choose your token parameters: The first step is to choose the parameters for your token. You’ll need to decide on a name and symbol for your token, as well as the total supply of tokens that will be created.
- Create your smart contract: Once you’ve chosen your token parameters, it’s time to create your smart contract. The smart contract is what will power your tokens and enable them to be traded on the Ethereum network.
- Deploy your smart contract: Once you’ve created it, the next step is to deploy it to the Ethereum network. This will make your tokens available for trading on the Ethereum network.
And that’s it! With Coinsmith, creating an ERC20 token is fast, easy, and secure. So, what are you waiting for? Get started today!
Conclusion:
The ability to create an ERC20 token in minutes with Coinsmith is a powerful tool that can open new opportunities and lead the way for further innovation. It has never been easier or faster to create, deploy, and manage your own blockchain-based tokens due to the user-friendly platform of Coinsmith. With speedy setup time and secure authentication processes, creating your own ERC20 token through Coinsmith doesn’t require any technical expertise or knowledge, making it available for anyone who desires their own digital currency.
 Shivani Mehta
29 Jun 2023
Shivani Mehta
29 Jun 2023